There are not too many application software developers that have been around for 30 years, let alone one that has been in the same industry for such a long period of time. Well, AppliCad Software has been and that is reflected in the depth of capability in its flagship product Roof Wizard.
AppliCad has been on a development strategy spanning over 30 years, taking knowledge and experience from users’ feedback from around the world. With our software in 148 countries, you can imagine the variety of styles, finishes, and techniques that are being used for roofing and cladding. All of them need to be designed with accurate take-offs to avoid costly construction fails down the track. The AppliCad team has taken it all in and the Roof Wizard program reflects this complexity.
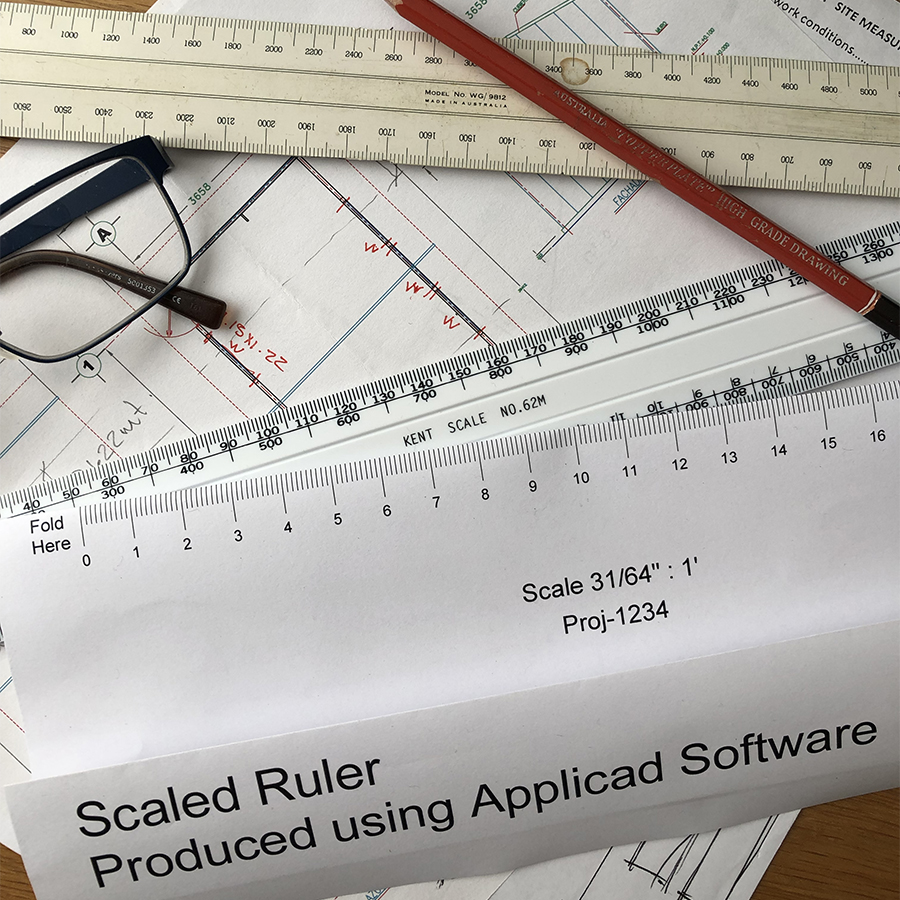
Our scaled ruler will help you navigate plans with incomplete dimensions
As a result, some very useful little functions seem to be ‘hidden’ away, any one of them might be just the trick you need to make your situation easier to cope with.

Take, for example, our ‘Scaled Rule’ utility found under the heading of [Reporting > Print Drawings]. This is very handy if you have been given a set of paper plans from which you are expected to create a 3D model in Roof Wizard. As is usually the case, half the dimensions you need to model accurately seem to be missing and the plan is about 25 generations removed (by copying repeatedly) that you cannot use one of your standard scales. Enter the ‘Scaled Rule’ utility.
When you select that drawing option, you are prompted for a dimension shown on the paper drawing. Select the longest dimension available to you on the plan as this will reduce the percentage error in calculating the scale. You measure the length of that line with a regular full-size scale rule and then put that in the cell on the dialog box where prompted. It is useful to give the new Ruler a unique name so you know what project it belongs to.
Hit [OK] and the software creates a new scale rule with the ‘funky’ adjusted scale value clearly displayed on it. Print this on your laser printer and check it against the dimension you used to create the ruler. You can now fold where shown and you have a new scale rule to run over the various features on the plan and extract measurements to build the correct roof geometry.
Easy eh?
I will have a couple of tricks for you in my next post.
Measure Pitch from an elevation; using Stage manager to control what is ordered and when; using Quote Groups to control what pricing detail is displayed on your quotation; how to turn your roof into a nice shaded view; how to set line colours and styles; how to set up your network so you can share jobs and setup files and a bunch more.

